
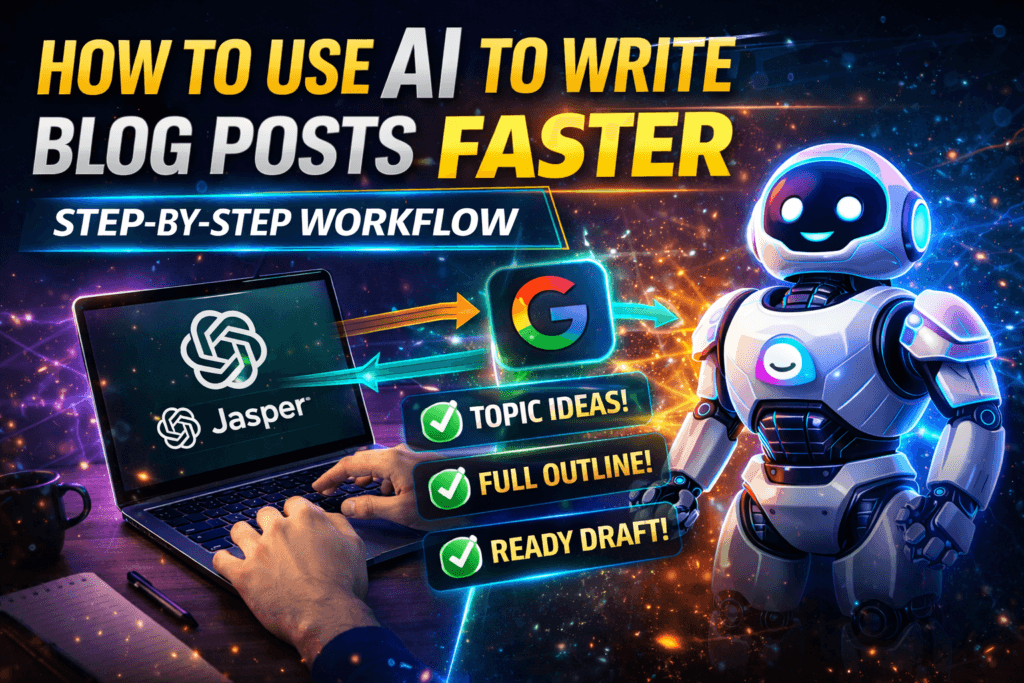
How to Use AI to Write Blog Posts Faster
AI in Content Creation: 2026 Guide
Here is a scenario most bloggers recognise.
You sit down to write a post. You know the topic. You have a rough idea of what you want to say. But two hours later, you are still rewriting your opening paragraph, your browser has twenty-three research tabs open, and the draft looks nothing like the clear, confident piece you imagined when you started.
This is not a skill problem. It is a workflow problem.
The three components that enable faster blog writing are planning and outlining, leveraging AI tools, and using efficient research techniques. Together, these allow writers to go from idea to published post in a fraction of the traditional time.
This guide walks you through an exact, repeatable workflow — the same approach content professionals are using in 2026 to write better posts in significantly less time, without sacrificing quality or their own voice.
Why AI Changes Blog Writing — But Does Not Replace It
Before getting into the workflow, one thing needs to be clear.
AI is a co-pilot, not an autopilot. The writers getting the best results from AI are not the ones letting the tool write everything. They are the ones using AI to handle the mechanical, time-consuming parts of the process — research synthesis, structure, first drafts — while reserving their own energy for what only a human can provide: original perspective, real experience, and editorial judgment.
The goal is not just to produce content faster. It is to create better content that connects with readers, builds authority, and ranks on search engines. AI frees you up to focus on the high-level thinking and creative insights that only a human can provide.
With that framing in place, here is the workflow.
The 6-Step AI Blog Writing Workflow
Step 1 — Find Your Topic and Primary Keyword (10 Minutes)
AI cannot tell you what your audience actually needs. That part still requires human research. Before opening any AI tool, spend ten minutes answering these two questions:
- What specific problem does my reader have right now?
- What are they typing into Google to find a solution?
Use Google Search, Google’s People Also Ask boxes, Semrush, Ahrefs, or even Perplexity AI to identify your primary keyword and confirm that real search demand exists behind it.
Practical tip: Search your topic in Google and scroll to the People Also Ask section. Those questions represent what readers genuinely want to know. They also make excellent subheadings for your article.
Once you have a confirmed keyword with decent search volume and a realistic competition level, move to the next step.
Step 2 — Use AI to Build Your Outline (10 Minutes)
This is where AI earns its place in the workflow. Generating a structured outline from scratch is one of the most time-consuming parts of writing — and one of the tasks AI handles remarkably well.
Open ChatGPT, Claude, or your preferred AI tool and use a prompt similar to this:
“Act as an expert content strategist. Create a detailed blog post outline for a post titled ‘[Your Title]’. My target audience is [describe your readers]. Include an introduction, 5 to 7 main sections with subheadings, key points under each section, and a conclusion. The post should answer these specific questions: [list 3 to 4 questions from your PAA research].”
The more specific and detailed your prompt, the more tailored the output. Assign a persona to the AI, provide context about your audience, and include examples of what you want. This is called few-shot prompting, and it is one of the most effective ways to guide the output.
Review the outline the AI produces. Remove sections that do not serve your reader. Add sections based on your own expertise that the AI would not think to include. Reorder points if the logic feels off.
The outline should now feel like yours — built by AI, shaped by you.
Step 3 — Research and Gather Your Own Insights (15 Minutes)
Do not skip this step. It is what separates content that ranks and gets shared from content that disappears into the noise.
Before drafting, spend fifteen minutes gathering:
- One or two current statistics that support your main point
- A real example or case study (your own experience, a client story, or a verified external example)
- One counterargument or nuance that most similar posts ignore
- Any personal insight or firsthand knowledge that only you can offer
AI’s knowledge does not extend beyond its training data, which makes your own inputs crucial for creating unique content. Adding fresh facts, data points, and personal experience transforms a competent AI draft into something genuinely worth reading.
Use Perplexity AI for real-time research with cited sources. This saves significant time compared to manually opening and reading multiple articles.
Step 4 — Draft Section by Section with AI (20 Minutes)
This is where most people make their biggest mistake. They ask AI to write the entire post in one prompt. The result is a bloated, generic draft that sounds like every other AI-generated article on the same topic.
Instead, draft one section at a time.
For each section in your outline, write a targeted prompt that includes:
- The section topic and subheading
- The specific point you want to make
- Your target reader and their knowledge level
- Any personal insight or data you want woven in
- The tone you want (conversational, authoritative, warm, direct)
Example prompt for a single section:
“Write a 150-word section for a blog post about [topic]. The subheading is ‘[Section Title]’. The main point is [your specific angle]. My reader is a [description] who [pain point]. Use a conversational but confident tone. Include this real example: [your example]. Do not use filler phrases like ‘in today’s fast-paced world’ or ‘it goes without saying’.”
Work through each section this way. Each draft will be stronger because the context is tighter. You will also spend less time editing because the output is already closer to what you actually want.
Step 5 — Edit, Add Your Voice, and Fact-Check (15 Minutes)
The draft the AI produces is a starting point. Your job now is to make it sound like you.
Read through each section and ask:
- Does this sound like something I would actually say?
- Have I added my real perspective, not just information?
- Are there any claims I cannot personally verify?
- Does the flow feel natural from one section to the next?
Add your own sentences, stories, and opinions throughout. Change vocabulary where the AI has used stiff or overly formal language. Break up long paragraphs. Replace any generic transition phrases with your own words.
Run the completed draft through Grammarly for grammar and clarity. Check any statistics or claims against their original sources — do not rely on AI for factual accuracy without verification.
If the AI generates something that feels generic, irrelevant, or low quality, the number one reason is usually the prompt. Instead of trying to fix a bad draft, it is much faster to refine your prompt and generate a new one.
Step 6 — Optimise for SEO Before Publishing (10 Minutes)
A fast workflow means nothing if the post never gets found. Spend the final ten minutes on basic on-page SEO:
| SEO Element | What to Check |
|---|---|
| Title tag | Primary keyword near the beginning |
| Meta description | 150–160 characters, includes keyword, has a clear hook |
| H1 and H2s | Keyword appears naturally in at least one subheading |
| First 100 words | Primary keyword mentioned within the opening paragraph |
| Internal links | Link to at least two relevant existing posts on your site |
| Image alt text | Descriptive text with keyword where relevant |
| Word count | Match or exceed what top-ranking posts provide for this topic |
Ask AI to write your meta description by providing the article title, primary keyword, and three main points it covers. This takes thirty seconds and consistently produces better meta descriptions than most people write manually.
Time Comparison: Before and After This Workflow
| Stage | Traditional Method | AI-Assisted Workflow |
|---|---|---|
| Topic and keyword research | 30–45 min | 10 min |
| Outline creation | 30–45 min | 10 min |
| Research and gathering insights | 60–90 min | 15 min |
| First draft | 120–180 min | 20 min |
| Editing and refinement | 45–60 min | 15 min |
| SEO optimisation | 20–30 min | 10 min |
| Total | 5–7 hours | 80 minutes |
The time saving is real. But notice that the AI-assisted workflow still involves 80 minutes of focused human work. The AI handles the bulk of mechanical production. The human handles everything that makes the content worth reading.
Common Mistakes to Avoid
- Publishing AI drafts without editing. Google’s E-E-A-T guidelines reward experience, expertise, authoritativeness, and trust. An unedited AI draft demonstrates none of these.
- Using one massive prompt for the entire post. Breaking the process into sections produces dramatically better results than asking for a complete article in one go.
- Skipping your own research. AI works from training data, not from your industry experience. The insights only you can provide are what differentiate your post from the hundreds of similar articles already online.
- Trusting AI for statistics. Always verify numbers, dates, and factual claims against primary sources before publishing.
- Ignoring tone. If you do not specify your desired tone in every prompt, AI defaults to a formal, generic register that sounds nothing like a real person.
The Right Tools for This Workflow
You do not need expensive subscriptions to start. Here is what works at each budget level:
| Budget | Recommended Tools |
|---|---|
| Free | ChatGPT (free tier) + Grammarly (free) + Perplexity AI (free) |
| ₹1,500/month | Claude Pro or ChatGPT Plus + Grammarly |
| ₹3,000+/month | Claude Pro + Surfer SEO + Grammarly Pro |
“Best Free AI Writing Tools 2026”
Start with the free tier. Most bloggers find that ChatGPT or Claude on a free plan, combined with deliberate prompting and their own editing, is more than enough to cut writing time in half from day one.
Frequently Asked Questions
Q1. Will Google penalise AI-assisted blog posts?
Google does not penalise AI-generated content as a category. It penalises low-quality, unhelpful content regardless of how it was produced. AI-assisted posts that include original perspective, accurate information, and genuine value for readers perform well in search — often better than padded, human-written posts that say nothing new.
Q2. How much of a blog post should AI write?
There is no fixed rule. The most effective approach treats AI as a first-draft generator and structural assistant. The percentage of AI-generated content that remains in your published post depends entirely on how much your editing and additions improve it. Some writers publish posts that are 60% AI and 40% their own additions. Others use AI for structure only and rewrite most of the prose themselves. Let quality, not percentages, guide you.
Q3. Can beginners use this workflow without writing experience?
Yes — and this workflow is particularly useful for beginners because it removes the blank-page problem entirely. Having an AI-generated outline and draft gives a solid starting point. The editing stage is where you develop your voice over time.
Q4. How long should an AI-assisted blog post be?
Match the length of the posts currently ranking in the top three positions for your target keyword. Use a tool like Ahrefs or simply check the word counts of competing articles manually. Length alone does not determine rankings — comprehensive, useful content does.
Q5. What is the single most important part of this workflow?
The editing stage — specifically, adding your own genuine insights, experiences, and perspective. This is what makes an AI-assisted post worth reading and what Google’s quality guidelines reward. Everything else in the workflow saves you time. The editing stage is what makes the result worth your reader’s time.
Q6. Does this workflow work for long-form posts over 2,000 words?
Yes. For longer posts, simply expand Step 2 to include more sections and work through Step 4 with more individual prompts. The section-by-section approach scales well and actually produces more coherent long-form content than trying to generate a 2,000-word post in a single prompt
References
ChatGPT vs Claude vs Gemini 2026
- OpenAI — ChatGPT official: openai.com
- Anthropic — Claude official: anthropic.com
- Perplexity AI — Research tool: perplexity.ai
- Grammarly — Editing and clarity: grammarly.com
- Google — Search quality evaluator guidelines: google.com/search/docs
- Surfer SEO — Content optimisation: surferseo.com
About the Author
Dr. Rekha Khandelwal is a certified expert in AI tools and academic content development, with a strong focus on leveraging platforms like ChatGPT, Claude, and Gemini for research and digital writing. With a Ph.D. in Law and specialized training in AI-driven content creation, she helps students, researchers, and professionals create high-quality, SEO-optimized, and impactful content.
Author Profile Dr. Rekha Khandelwal | Academic Writer, Legal Technical Writer, AI Expert & Author | AspirixWriters
- Motivational, Creative & Ghostwriting
- Legal & Technical Writing Services
- Academic Writing Assistance
- Editing & Proofreading
- SEO Blogwriting Services
AI For Social Media Content: How To Create 30 Days Of Posts In 2 Hours (2026 Guide)
How to Use AI to Write Blog Posts Faster in 2026 (Step-by-Step Workflow)
How to Use AI to Write Blog Posts Faster AI in Content Creation: 2026 Guide…

AI in Content Creation: 2026 Guide, Tools & Best Practices
Explore AI in content creation for 2026 — tools, workflows, benefits, real use cases, and…

AI for Social Media Content: How to Create 30 Days of Posts in 2 Hours (2026 Guide)
AI for Social Media Content AI in Content Creation: 2026 Guide Most social media managers…
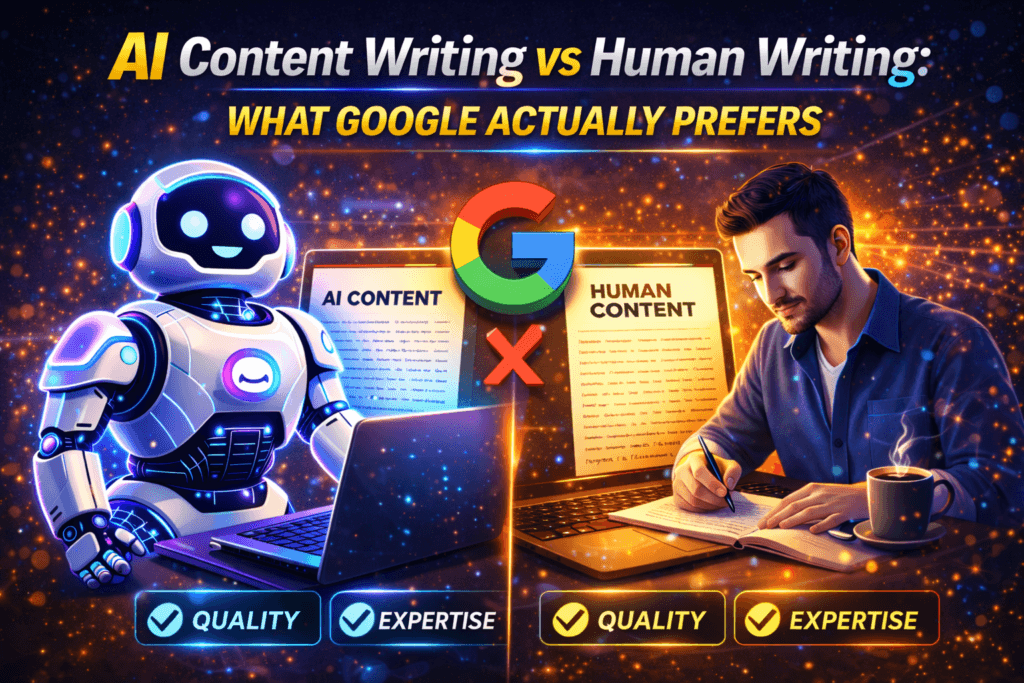
AI Content Writing vs Human Writing: What Google Actually Prefers in 2026
AI Content Writing vs Human Writing AI In Content Creation: 2026 Guide, Tools & Best…