Cluster Post 5 | Module 5: Organising Chapters, Maintaining Academic Tone, and Preparing Submission-Ready Documents
From Concept to Submission Series | 2026
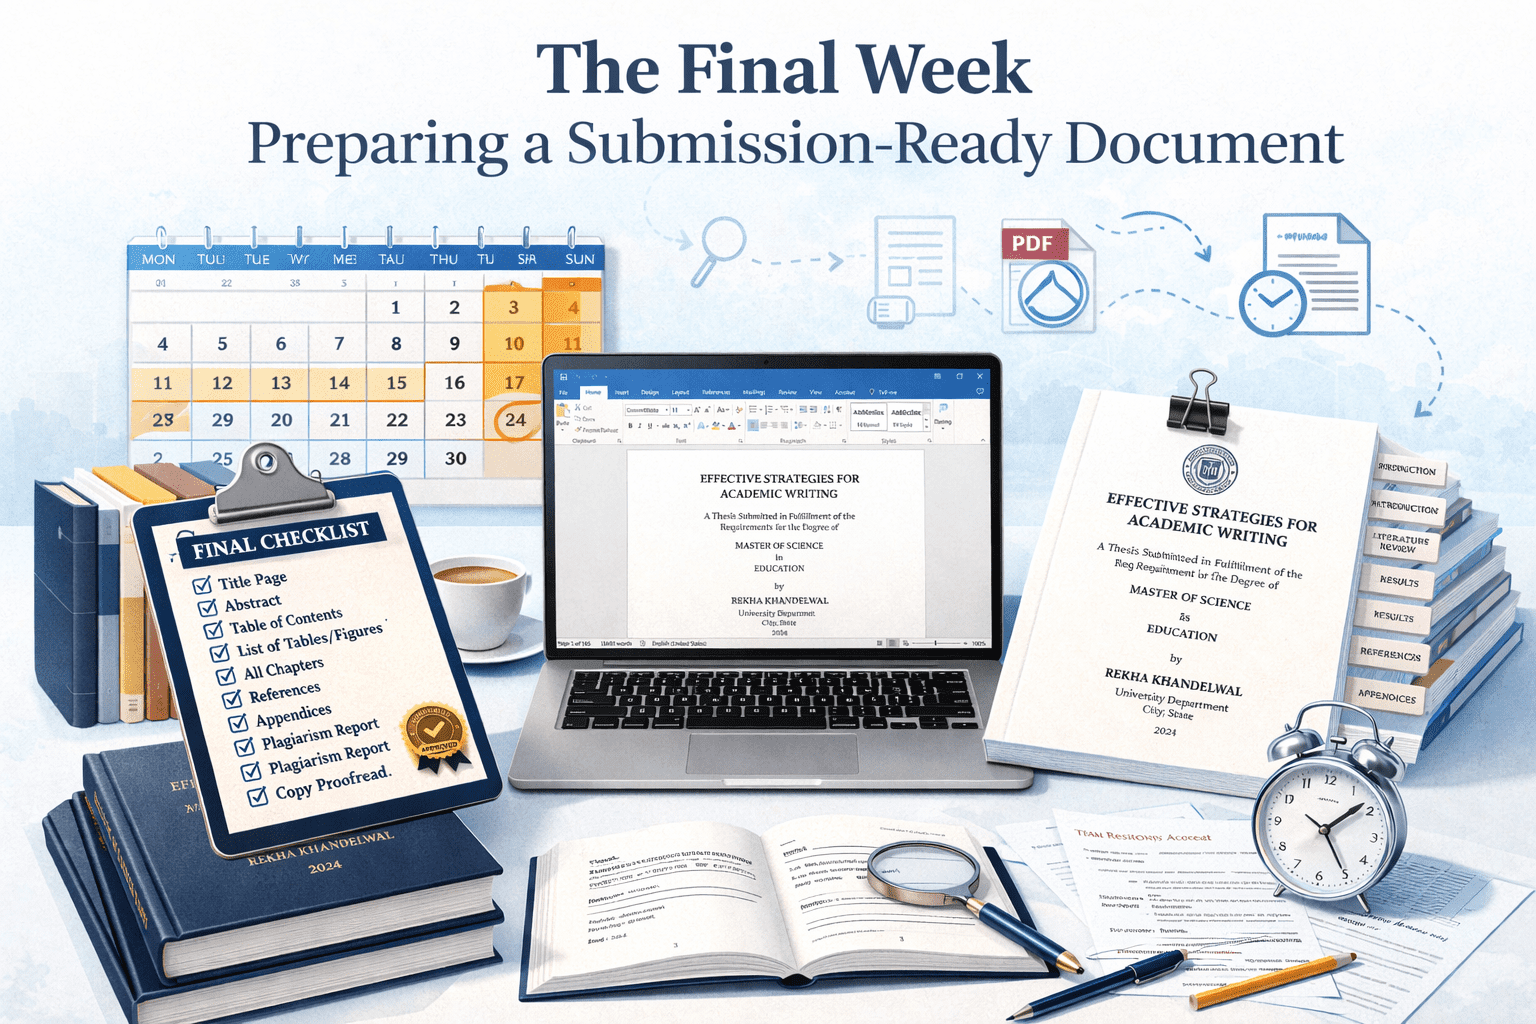
Preparing a Submission-Ready Document
The module overview provides a submission checklist. This post goes deeper: a sequenced final-week workflow, the specific Word and PDF problems that cause last-minute submission failures, the cross-reference and table of contents update process, and the complete document audit in the order that makes errors easiest to catch.
Why the Final Week Needs a Plan
The final week before thesis submission is the period in which most preventable errors are introduced. The document has been substantially complete for weeks; the temptation is to make small improvements right up to the deadline. Each small change — a paragraph rewritten, a heading changed, a figure moved — can displace page numbers, break cross-references, corrupt the table of contents, or introduce inconsistencies that cascade through the document.
The most effective approach is a hard content freeze followed by a formatting audit. Stop making content changes at least five days before submission. Use the remaining time exclusively to verify that the document is complete, consistent, and correctly formatted. Any content change after the content freeze requires a full re-run of the formatting audit — partial re-checking introduces as many errors as it catches.
The Five-Day Submission Workflow
| Day | Task |
| Day 5 (five days before submission) | Content freeze. Final supervisor sign-off obtained. Complete full read-through for content completeness — are all research questions answered? Is every in-text citation in the reference list? Is every reference list entry cited in text? |
| Day 4 | Formatting audit (see detailed checklist below). Update all automatic fields: table of contents, list of figures, list of tables, cross-references. Print one chapter to check margins and page layout. |
| Day 3 | Plagiarism check run. Results reviewed and any necessary paraphrase revisions made. If revisions affect page numbers, re-run the table of contents update. |
| Day 2 | Final proofread — ideally by someone other than the author. Focus on: spelling, punctuation, consistency of terminology, formatting consistency. Generate final PDF and verify it opens, displays, and prints correctly. |
| Day 1 (submission day) | Administrative documents assembled: declaration, supervisor certificate, any required undertakings. Physical copies printed and bound if required. Soft copy file named per requirements. Submission made with sufficient time to address any administrative issues at the office. |
The Formatting Audit: Specific Checks in Order
The formatting audit is most efficient when run in the order below — from large-scale structural checks to fine-grained typographic details. Doing it in this order means that any large-scale corrections (which can affect fine-grained details) are made before fine-grained checking begins.
Level 1: Page layout and global settings
- Margins: File → Page Setup → Margins. Verify left margin is 1.5 inches, all others 1 inch (or per your guidelines). Check that no section has different margin settings.
- Line spacing: Select all (Ctrl+A) → check line spacing in the Home tab. If any section shows unexpected spacing, identify and correct it. Check that footnotes, block quotes, and bibliography are single-spaced.
- Font: Select all → verify font is Times New Roman 12pt throughout. Any variation (bold chapter headings and italic emphasis excepted) indicates a formatting inconsistency.
- Page size: Verify A4 throughout. A document created on a US-letter template and converted will have subtle margin and line-break differences.
Level 2: Page numbers and section breaks
Page numbering failures are among the most common submission problems, and they are reliably introduced when sections are added or moved late in the writing process.
- Front matter numbering: Verify that Roman numerals (i, ii, iii) appear on all front matter pages after the title page. The title page should have no visible number.
- Body numbering: Verify that Arabic numbering starts at 1 on the first page of Chapter 1, not on the first page of the document.
- Section breaks: View → Draft mode to see section break markers. Verify that the section break between front matter and body text is correctly placed and that the ‘different first page’ or ‘link to previous’ settings are correct.
- Chapter first pages: Some universities specify no page number on the first page of each chapter. If this is required, verify that ‘different first page’ is set for each chapter’s section.
Level 3: Table of contents and cross-references
Never manually type page numbers in your table of contents. Use Word’s automatic table of contents feature, which generates entries from Heading styles and updates page numbers automatically. A manually typed table of contents that goes out of date when you make last-minute changes is one of the most frequent submission errors.
To update all automatic fields: press Ctrl+A to select all, then press F9 to update all fields. This updates the table of contents, the list of figures, the list of tables, and any cross-references. When prompted, select ‘Update entire table’ (not ‘Update page numbers only’) to capture any heading text changes as well as page number changes.
Verify cross-references manually: search for ‘as shown in’ and ‘see Table’ and ‘see Figure’ and verify that each one points to the correct table or figure and that the referenced table/figure is on a nearby page. Cross-references that point to the wrong item are invisible to automatic checking.
Level 4: Tables and figures
- Every table has a number and a title above it. Every figure has a number and a caption below it.
- Every table and figure is referenced in the text before it appears. Scroll through and verify.
- The list of figures and list of tables matches the figures and tables in the text. After the Day 4 full update (F9), compare entries in the lists to actual figures and tables.
- Tables do not split across page breaks where this is avoidable. In Word: right-click the table → Table Properties → Row → uncheck ‘Allow row to break across pages’. For tables that genuinely need to continue across pages, add a header row repeat.
Level 5: References
The reference list audit has two parts: completeness and format consistency. Both are best done as separate passes rather than simultaneously.
- Completeness — in-text to reference list: Work through the text and create a list of every unique in-text citation (author, year). Compare against the reference list. Every in-text citation must have a full entry.
- Completeness — reference list to in-text: Work through the reference list and verify each entry is cited somewhere in the text. Entries that are not cited are sometimes from early drafts or literature review materials that were not ultimately used and should be removed.
- Format consistency: Check ten entries from different parts of the reference list for consistent formatting: hanging indent, capitalisation, italics on journal/book titles, punctuation between elements. If ten are consistent, the list is probably consistent. If any of the ten vary, check all entries of that source type.
Word-to-PDF: What Can Go Wrong
A thesis that looks perfect in Word may have problems in PDF. Generate the PDF several days before submission and verify it before treating the document as complete.
- Fonts not embedded: If your PDF viewer shows text in a different font from what you expect, fonts have not been embedded. When saving to PDF in Word: File → Save As → PDF → Options → check ‘ISO 19005-1 compliant (PDF/A)’ and ‘Embed fonts in the file’.
- Hyperlinks broken or absent: If your table of contents or cross-references use hyperlinks, verify they work in the PDF. Some university examiners navigate PDFs using hyperlinks.
- Images degraded: High-resolution figures in Word sometimes compress to low resolution in PDF. In Word’s PDF export settings, select ‘Standard (publishing online and printing)’ rather than ‘Minimum size’.
- Page numbers shifted: PDF page numbers (shown in the PDF viewer) may not match document page numbers (typed in the document) if there are blank pages, cover pages, or section breaks that the PDF viewer counts differently. Navigate to your first chapter in the PDF and verify the page number shown in the viewer matches the number printed in the document.
- Bookmarks absent: Some universities require bookmarked PDFs for electronic submission. When saving to PDF from Word, the ‘Create bookmarks using Headings’ option in the PDF export options creates a navigable bookmark panel from your heading structure.
The Final Read-Through: What to Look For
The final read-through should be done on a printed copy, not on screen. Print errors are visible in print that are invisible on screen: spacing irregularities, orphaned headings, lines that run into margins, table cells that overflow.
Read aloud, or have someone else read it. Reading aloud catches errors that silent reading misses: repeated words, missing words, sentences that end mid-thought, and punctuation problems are all easier to hear than to see.
In the final read-through, check specifically for: orphaned lines (a single line of a paragraph at the top or bottom of a page), widows (a short final line of a paragraph that sits alone), headings at the bottom of a page with no following text, and figures or tables that appear before they are referenced in the text.
🔱 For Law Students
Footnote audit
Run a dedicated footnote audit as part of your final-week process. Search for the longest footnotes (in Word: use the Find & Replace function to search in footnotes, or scroll through the footnote area in Draft view). Any footnote more than four lines long should be reviewed: does it contain substantive argument that belongs in the main text? Does it contain information that belongs in the bibliography rather than a footnote?
The specific errors to look for: citations in the main text that should be footnotes (legal theses use footnote citation, not in-text citation); footnote numbers that have renumbered unexpectedly after edits (check that numbering restarts at 1 in each chapter if that is your convention); and footnotes that cite cases using inconsistently formatted citations (check against your master case list).
Case citation verification pass
For doctrinal theses, add a case citation verification pass to Day 4 of your workflow. Extract all case citations from the text and footnotes. For each case: verify the citation format against your citation style (OSCOLA or Bluebook), verify the year and reporter, and verify the page number against the original reporter if any case is central to your argument.
Citation errors in law theses are taken more seriously than in social science theses — they raise questions about whether the researcher read the cases cited. A page number that is wrong in a footnote to a pivotal case suggests it may not have been read carefully. Verify the most important cases from primary sources.
The pre-viva copy
Keep one clean, complete PDF of the submitted thesis saved in at least two separate locations — cloud storage and a local backup. This is the document you will work from in preparing for your viva. Any post-submission corrections agreed with examiners will be tracked against this version. Losing access to the submitted version because of a file system failure two weeks before your viva is a stress you can prevent.
References
- Turabian, K. L. (2018). A Manual for Writers of Research Papers, Theses, and Dissertations (9th ed.). University of Chicago Press.
- Murray, R. (2011). How to Write a Thesis (3rd ed.). Open University Press.
- Single, P. B. (2010). Demystifying Dissertation Writing. Stylus Publishing.
- Shodhganga PDF submission requirements — INFLIBNET. shodhganga.inflibnet.ac.in
End of Module 5 Cluster Posts — all 5 complete.
Academic Writing Mastery: The Complete 2026 Guide to Research Papers & Thesis Writing
Academic Writing Mastery Your research deserves to be read. This complete guide transforms your ideas…

The Final Week: Preparing a Submission-Ready Document
Cluster Post 5 | Module 5: Organising Chapters, Maintaining Academic Tone, and Preparing Submission-Ready Documents…
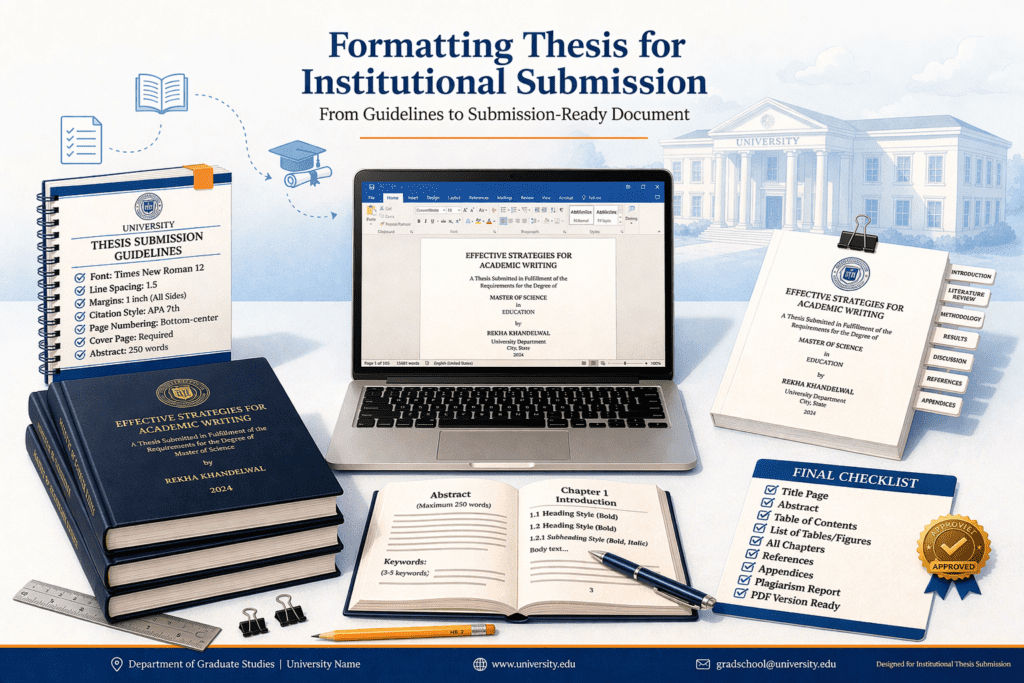
Formatting Thesis for Institutional Submission
Cluster Post 4 | Module 5: Thesis Writing and Submission From Concept to Submission Series …
Academic Tone: From Principles to Practice
Cluster Post 3 | Module 5: Organising Chapters, Maintaining Academic Tone, and Preparing Submission-Ready Documents…
Writing the Thesis Abstract and Introduction
Cluster Post 2 | Module 5: Thesis Writing and Submission From Concept to Submission Series …
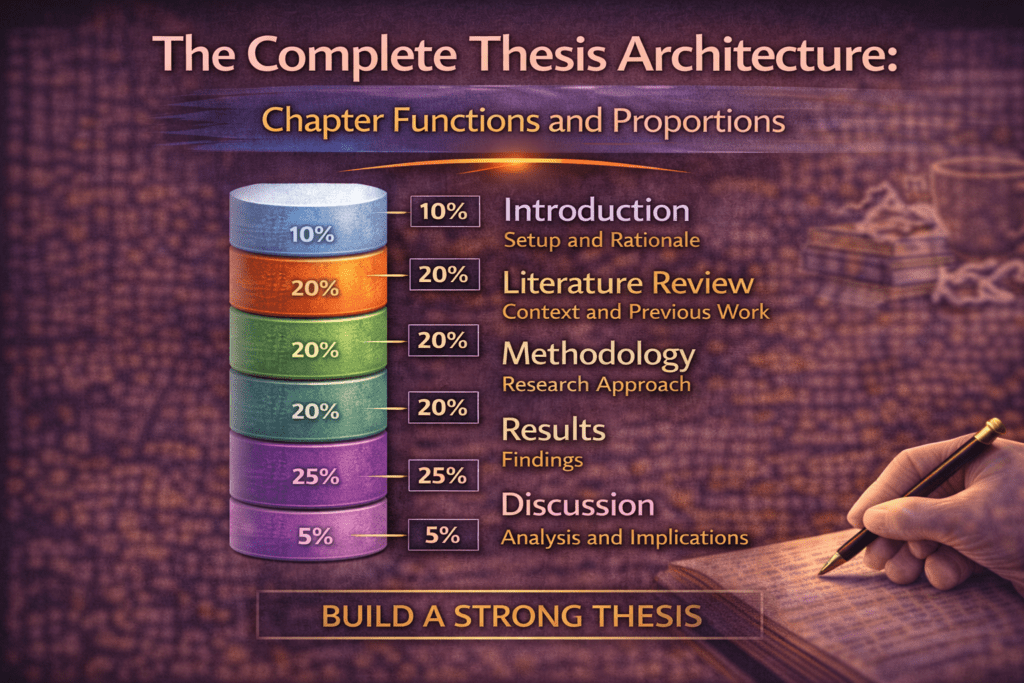
The Complete Thesis Architecture: Chapter Functions and Proportions
Cluster Post 1 | Module 5: Organising Chapters, Maintaining Academic Tone, and Preparing Submission-Ready Documents…
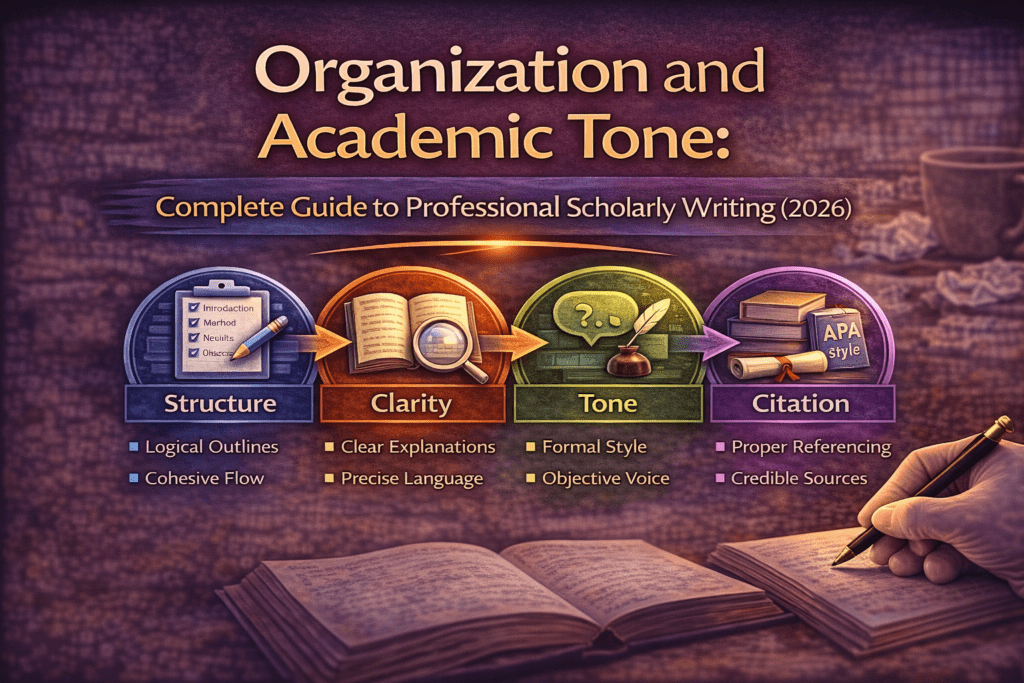
Organization and Academic Tone: Complete Guide to Professional Scholarly Writing (2026)
Why Organization and Academic Tone Matter More Than You Think Here’s what thesis examiners notice…
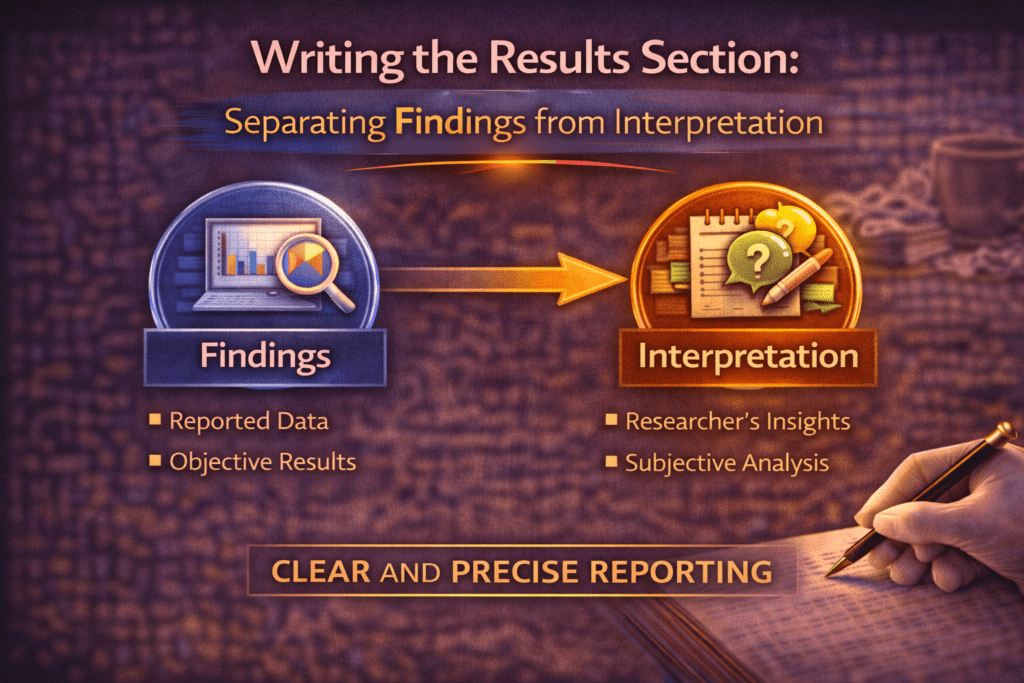
Writing the Results Section: Separating Findings from Interpretation
Cluster Post 6 | Module 4: Data Analysis and Presenting Results From Concept to Submission…

Presenting Qualitative Findings: Quotes, Themes, and the Balance Between Showing and Telling
Cluster Post 5 | Module 4: Data Analysis and Presenting Results From Concept to Submission…
Statistical Assumptions: The Checks Most Researchers Skip
Cluster Post 4 | Module 4: Data Analysis and Presenting Results From Concept to Submission…
Inferential Statistics: Choosing and Reporting the Right Test
Cluster Post 3 | Module 4: Data Analysis and Presenting Results From Concept to Submission…
Descriptive Statistics: What to Report and How to Read Them
Cluster Post 2 | Module 4: Data Analysis and Presenting Results From Concept to Submission…
Preparing Your Data: The Work That Determines Analysis Quality
Cluster Post 1 | Module 4: Data Analysis and Presenting Results From Concept to Submission…
Data Analysis and Results Presentation: Complete Guide for Quantitative, Qualitative & Legal Research (2026)
Data Analysis and Results Presentation: Why Data Analysis Determines Research Credibility Here’s what separates published…

Research Ethics in Practice: What Ethics Forms Don’t Tell You
Cluster Post 7 | Module 3: Research Methodologies From Concept to Submission Series | 2026…
Sampling: Choosing Who to Study and How Many
Cluster Post 6 | Module 3: Research Methodologies From Concept to Submission Series | 2026…
Mixed Methods Research: When and How to Combine Approaches
Cluster Post 5 | Module 3: Research Methodologies From Concept to Submission Series | 2026…
Qualitative Data Collection and Analysis: Interviews, Coding, and Trustworthiness
Cluster Post 4 | Module 3: Research Methodologies From Concept to Submission Series | 2026…
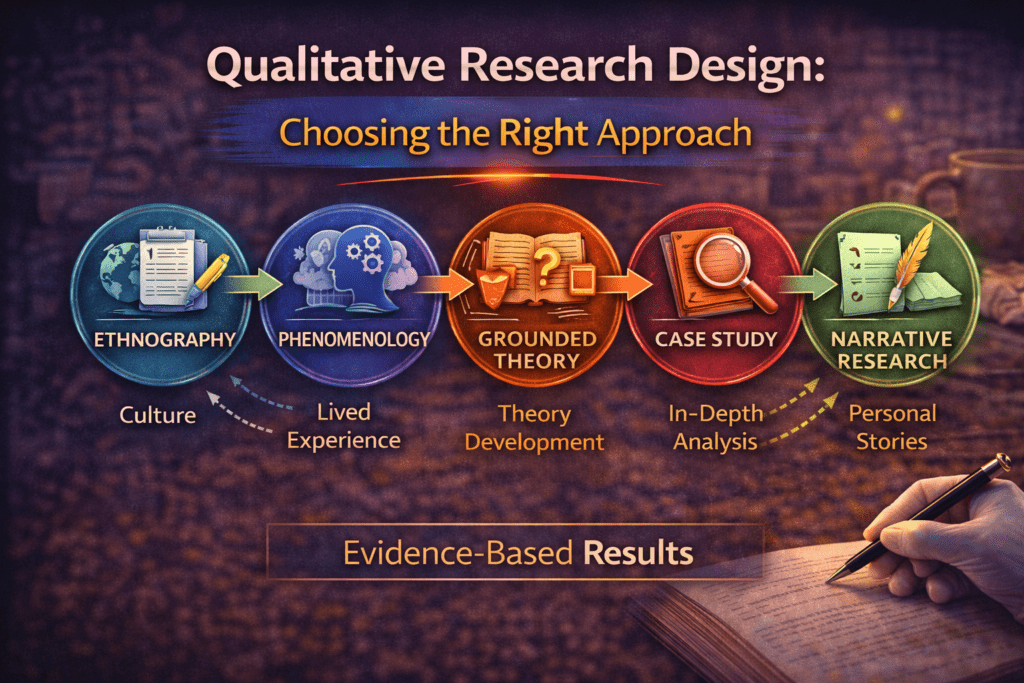
Qualitative Research Design: Choosing the Right Approach
Cluster Post 3 | Module 3: Research Methodologies From Concept to Submission Series | 2026…
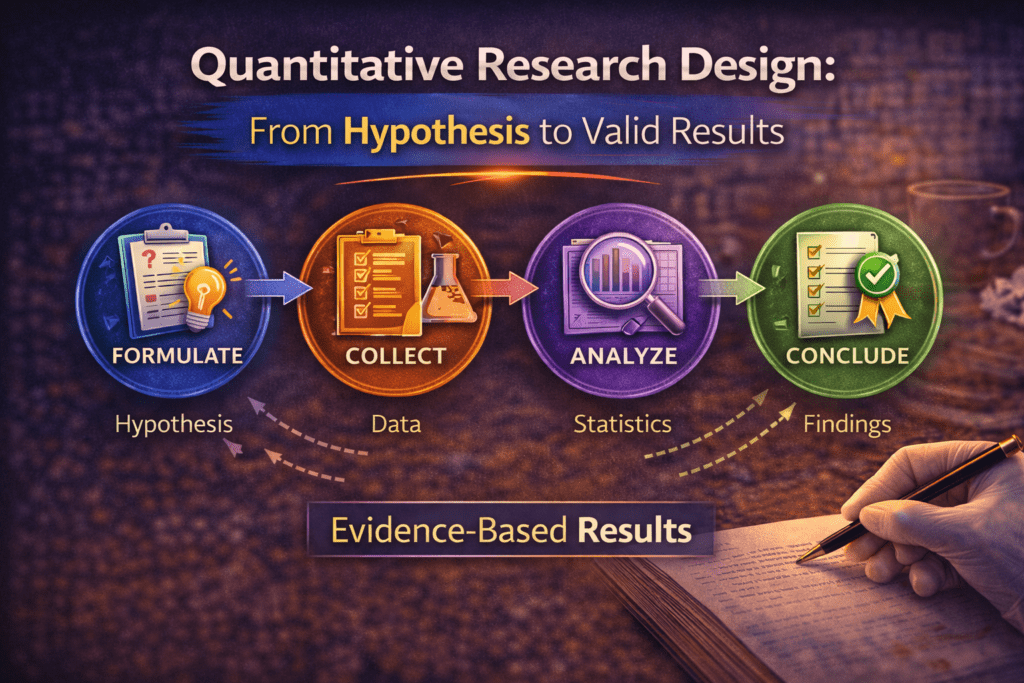
Quantitative Research Design: From Hypothesis to Valid Results
Cluster Post 2 | Module 3: Research Methodologies From Concept to Submission Series | 2026…

Research Paradigms: Why Your Philosophical Stance Shapes Everything
Cluster Post 1 | Module 3: Research Methodologies From Concept to Submission Series | 2026 ←…
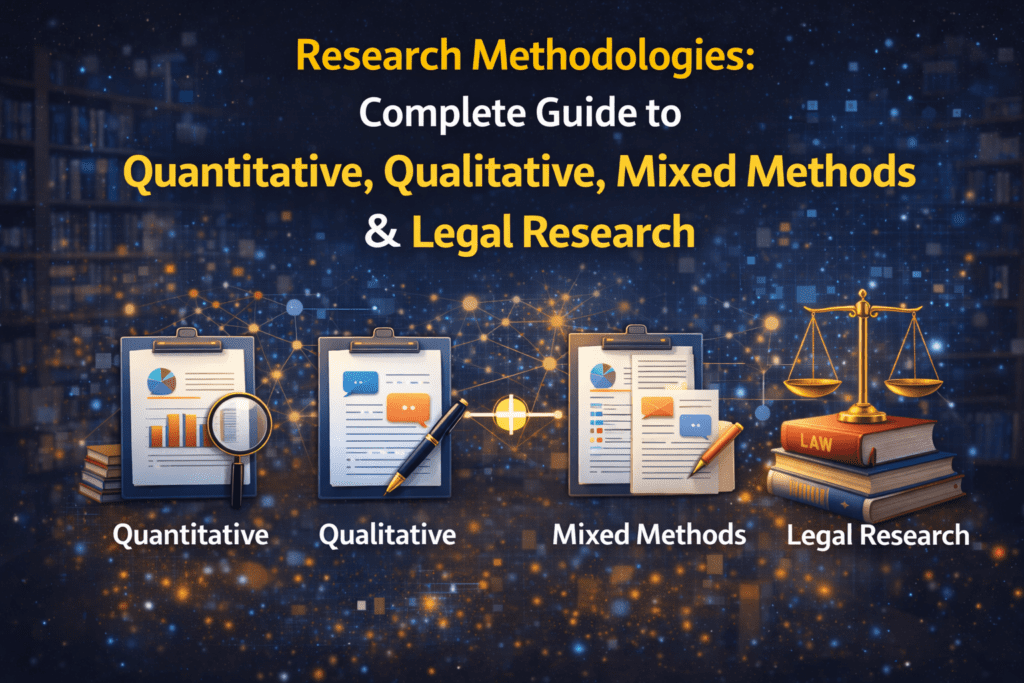
Research Methodologies: Complete Guide to Quantitative, Qualitative, Mixed Methods & Legal Research (2026)
Why Methodology Determines Research Quality Here’s what thesis examiners focus on first: your methodology section…

Reference Management: Zotero and Mendeley from Setup to Submission
Cluster Post 5 | Module 2: The Academic Writing Process From Concept to Submission Series …
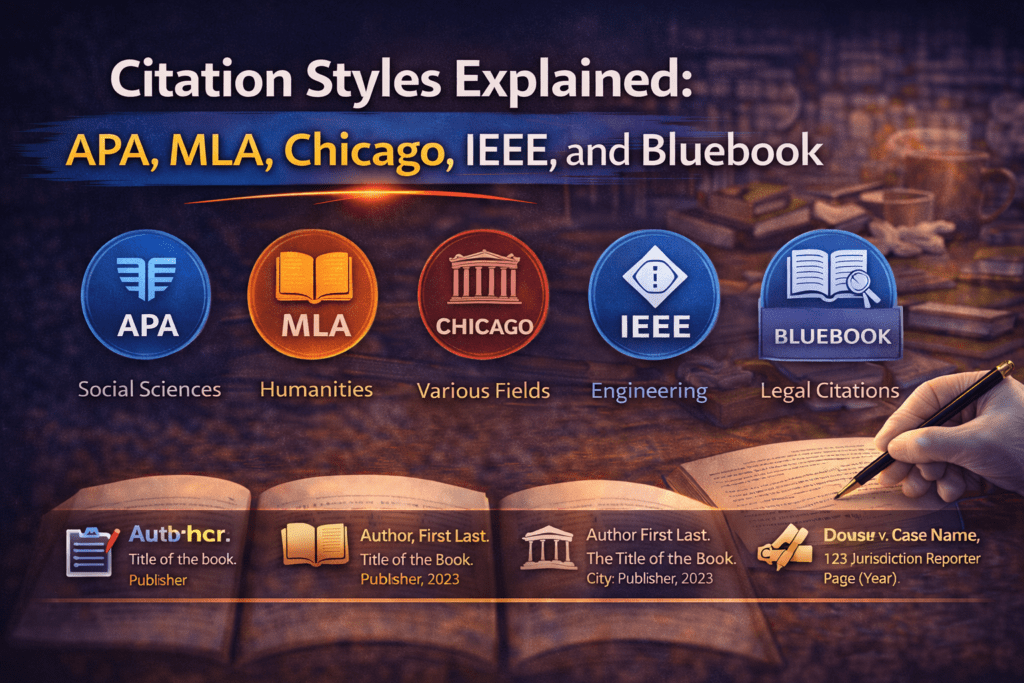
Citation Styles Explained: APA, MLA, Chicago, IEEE, and Bluebook
Cluster Post 4 | Module 2: The Academic Writing Process From Concept to Submission Series …
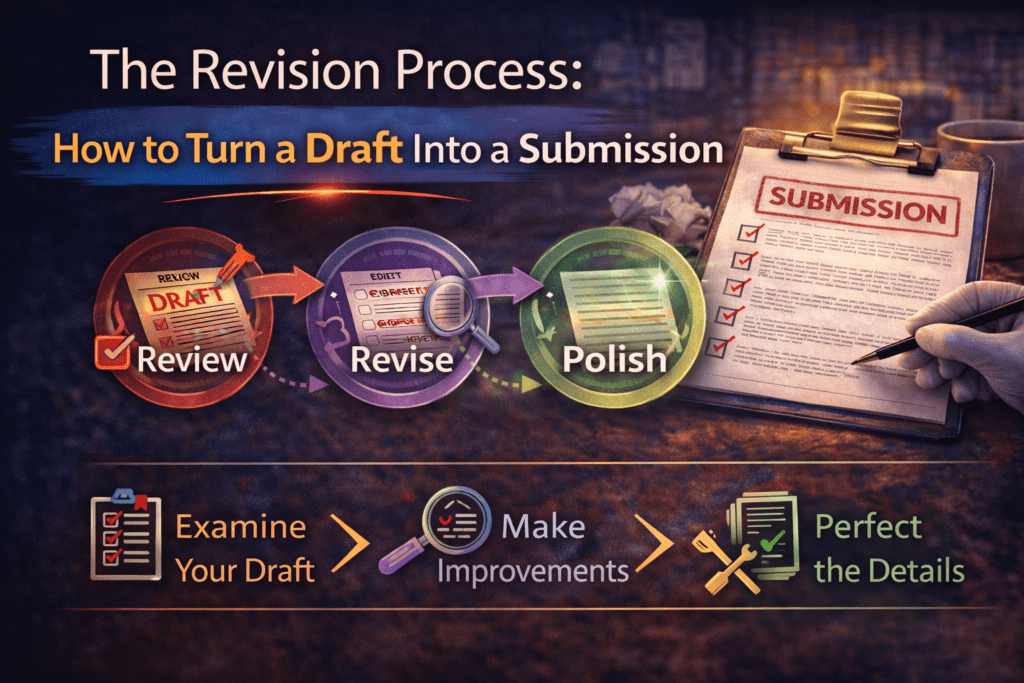
The Revision Process: How to Turn a Draft Into a Submission
Cluster Post 3 | Module 2: The Academic Writing Process From Concept to Submission Series …
How to Write Clear Engaging Academic Prose
Cluster Post 2 | Module 2: The Academic Writing Process From Concept to Submission Series …
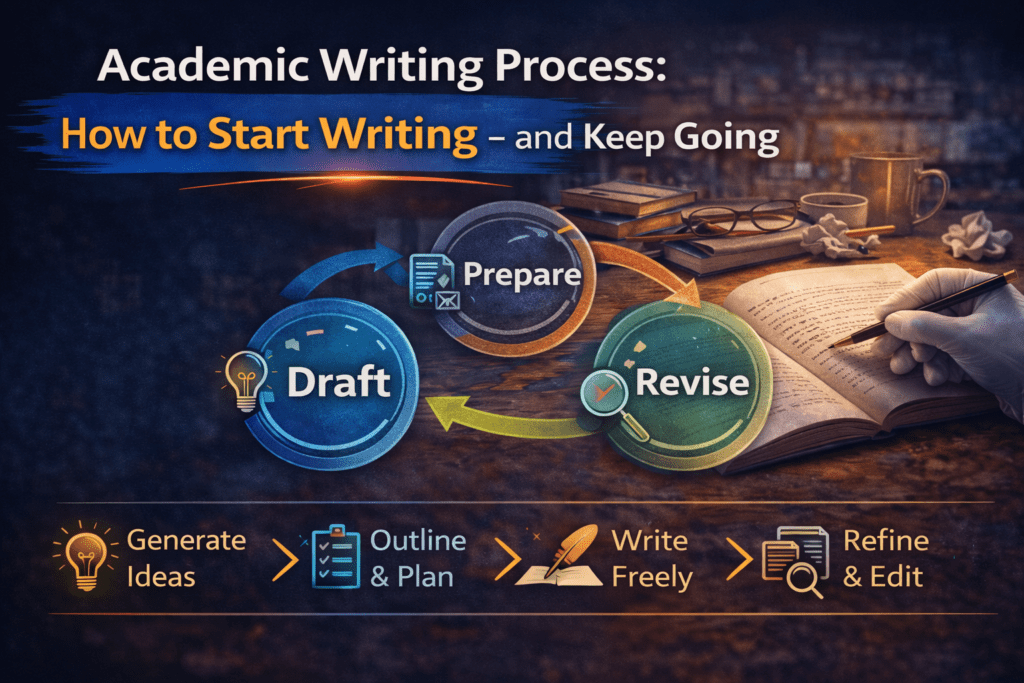
How to Start Writing — and Keep Going
Cluster Post 1 | Module 2: The Academic Writing Process From Concept to Submission Series …
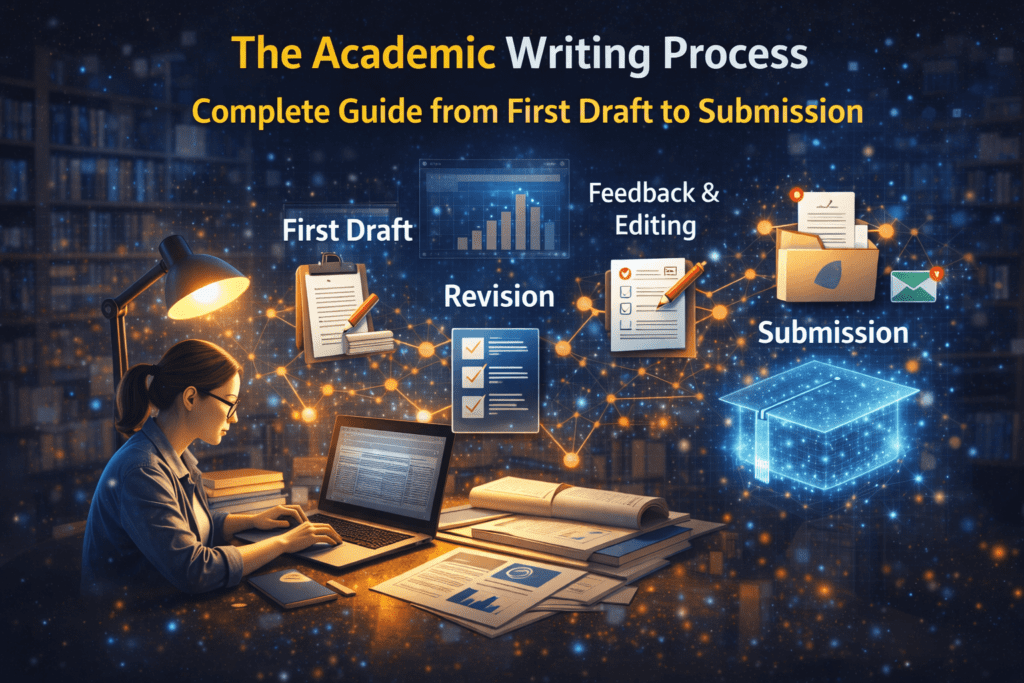
The Academic Writing Process: Complete Guide from First Draft to Submission (2026)
From Concept to Submission: A Complete Guide to Research Paper and Thesis Writing Module 2,…
10 Structural Mistakes That Get Research Papers Rejected — And How to Fix Every One
Cluster Post 7 | Module 1: Understanding the Structure of Research Papers and Theses From…
Complete Thesis Structure: A Chapter-by-Chapter Guide
Cluster Post 6 | Module 1: Understanding the Structure of Research Papers and Theses From…
The Discussion Section: How to Turn Findings Into Knowledge
Cluster Post 5 | Module 1: Understanding the Structure of Research Papers and Theses From…
The Results Section: How to Present Findings Without Letting Interpretation Slip In
Cluster Post 4 | Module 1: Understanding the Structure of Research Papers and Theses From…
How to Write a Methods Section That Reviewers Will Trust
Cluster Post 3 | Module 1: Understanding the Structure of Research Papers and Theses From…

How to Write a Research Introduction That Reviewers Cannot Ignore
Cluster Post 2 | Module 1: Understanding the Structure of Research Papers and Theses From…

The IMRAD Framework: Why It Exists, How It Really Works, and Where It Breaks Down
Cluster Post 1 | Module 1: Understanding the Structure of Research Papers and Theses From…